In a world obsessed with 8K video, 45-megapixel sensors, and autofocus systems that can track a bird’s eye through a hurricane, picking up a Nikon D3000 in 2024 feels like an act of rebellion.
It’s been over 15 years since this entry-level DSLR hit the shelves. By modern standards, the spec sheet reads like a history textbook: 10 megapixels, no video mode, and ISO that tops out where most modern cameras just begin. But here is the paradox: despite the “outdated” tech, photographers—myself included—are circling back to this camera.
Why? Because of the soul inside the machine. Specifically, the CCD sensor.
If you are a beginner looking for your first camera, or a seasoned shooter tired of the clinical, over-processed look of modern mirrorless bodies, this deep dive into the Nikon D3000 is for you. We aren’t just going to look at specs; we are going to look at character, usability, and how to squeeze every ounce of performance out of this $60 bargain.
The Magic of the CCD Sensor
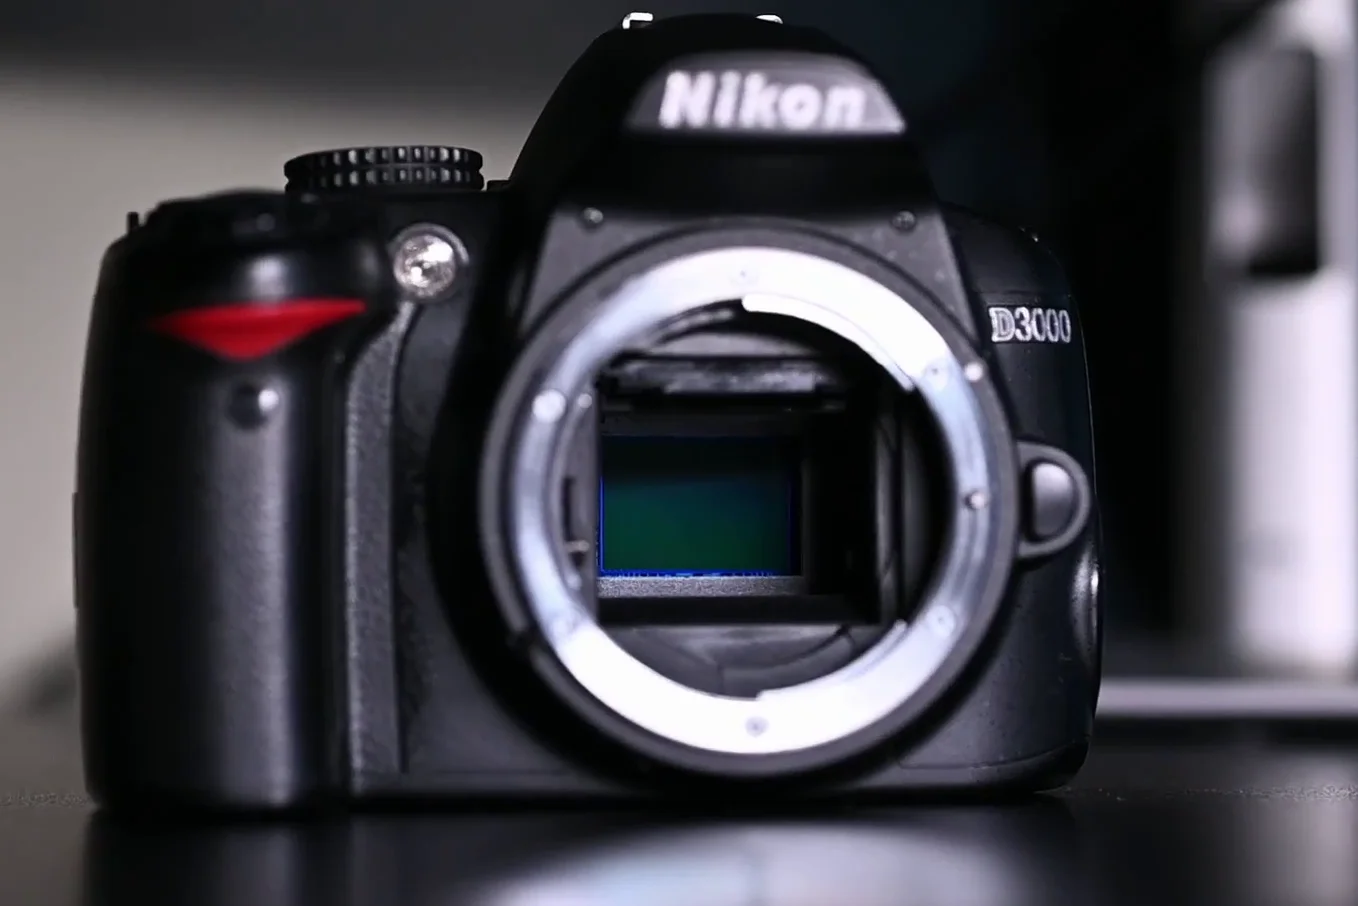
Let’s address the elephant in the room immediately. Why buy a 15-year-old camera when your phone probably has more resolution? The answer lies in the acronym: CCD (Charge-Coupled Device).
Before the industry standardized on CMOS sensors (which are great for high ISO and video), cameras utilized CCD sensors. The Nikon D3000 was the last of its kind in the 3000-series to house this tech.
The “Film-Like” Quality
There is a distinct rendering to CCD images that is hard to replicate with modern CMOS sensors without heavy editing. The D3000 produces colors that are rich, thick, and surprisingly organic. At base ISO, the images pop with a vibrancy that feels reminiscent of slide film.
Even when you push the ISO up—which we will discuss in detail later—the noise introduced doesn’t look like ugly digital artifacts. It looks remarkably like film grain. This “grain” adds texture and emotion to the shot rather than ruining it. In 2024, we spend hours buying presets to emulate this look; the D3000 gives it to you straight out of the box.
Design and Handling: The “Just Right” Size
If you have ever held a Nikon D40 or D60, the D3000 will feel like shaking hands with an old friend. It effectively replaced those models and kept the form factor that many of us love.
It is compact, but not too compact. Unlike some modern mirrorless cameras that feel like holding a bar of soap, the D3000 has a substantial grip. It fits naturally in the hand, balancing well even with heavier glass.

At roughly the same size as the revered D60, it is lightweight and portable. You can throw this in a day bag and forget it’s there until you need it. For street photography or hiking, this portability is a massive plus.
The Specs: The Good, The Bad, and The Reality
Let’s strip away the nostalgia for a moment and look at what you are actually getting for your money.
The Essentials:
* Sensor: 10.2 Megapixel DX-format CCD.
* Screen: 3-inch LCD (decent for reviewing, but don’t expect retina resolution).
* Autofocus: 11-point AF system (a solid step up from the 3 points on older entry models).
* Speed: 3 frames per second.
* ISO: 100-1600 (expandable to 3200).

The “Cons” (Or Are They?)
I need to be upfront about the limitations, which I prefer to call “creative constraints.”
- No Video Recording: That’s right. None. Zero. The D3000 is the only sibling in its family line that cannot shoot video. For hybrid shooters, this is a dealbreaker. For pure photographers? It’s a blessing. It forces you to focus entirely on the still image. It is a dedicated tool for a dedicated craft.
- No Wireless Tech: Forget about Bluetooth or WiFi transfer. You will be using a card reader.
- One Card Slot: Standard for this tier, but worth noting.
- No In-Body Stabilization: You need steady hands or VR (Vibration Reduction) lenses.
User Experience: Friendly for Beginners
One of the strongest arguments for this camera is its user-friendliness. The menu system isn’t a labyrinth. It was designed for people stepping up from point-and-shoots.
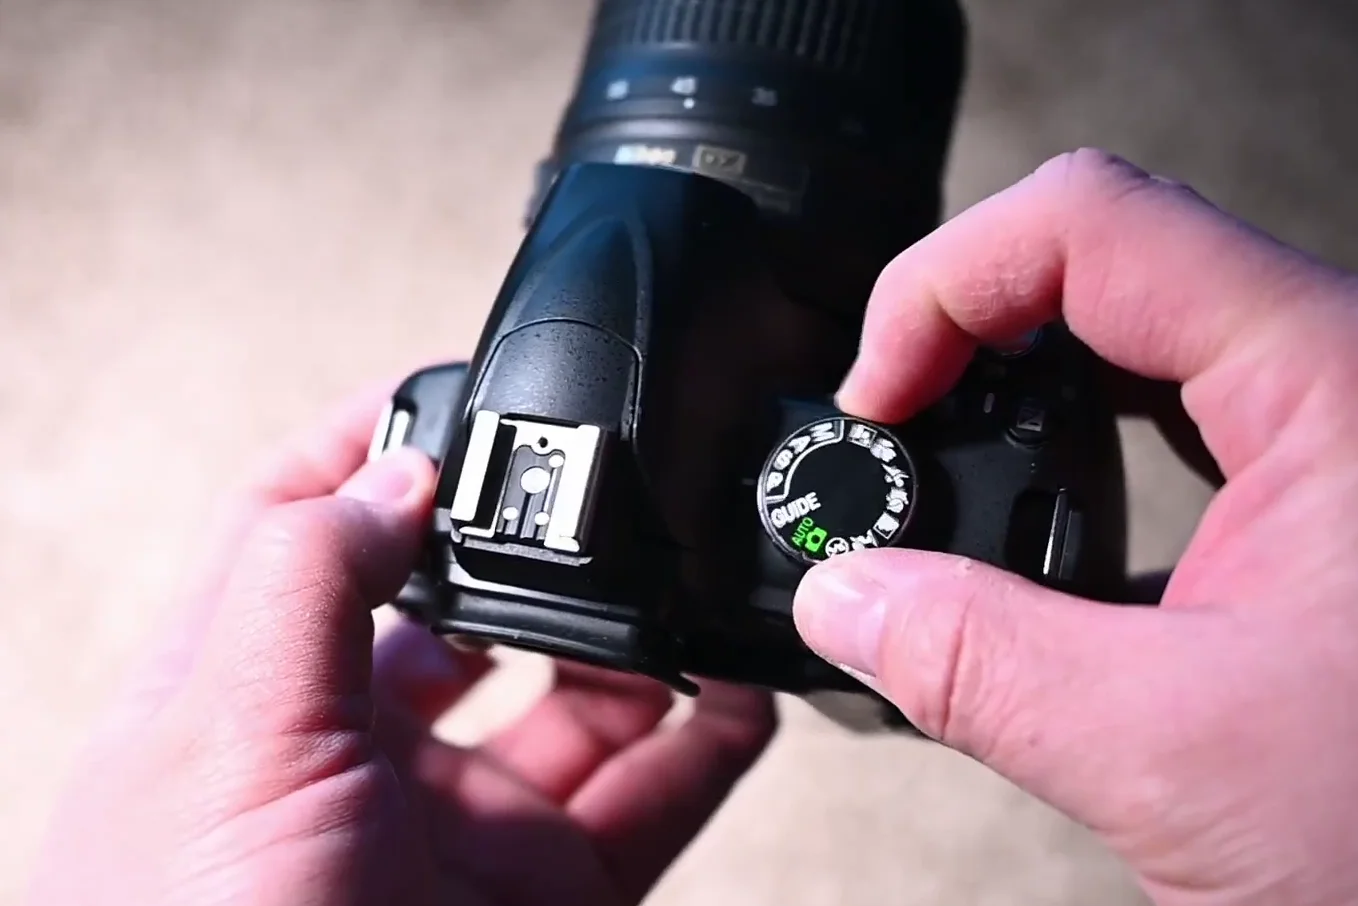
There aren’t a million custom buttons to confuse you. This simplicity allows you to build muscle memory quickly. You spend less time menu-diving and more time composing.
Master Class: How to Shoot the D3000 in 2025
Since this is an older camera, it doesn’t do everything for you. You have to drive it. Here are the specific settings and techniques I use to get professional-looking results from this 15-year-old body.
1. The ISO “Hack”
Changing ISO on the fly is crucial, especially since the D3000 struggles in low light. You don’t want to be digging through menus when the light changes.
Pro Tip: Go into your setup menu and map the Function (Fn) button (located on the side of the lens mount) to control ISO. This allows you to hold the button and spin the dial to change sensitivity instantly.

Managing Noise:
Some users complain about noise above ISO 800. My advice? Embrace it. As mentioned earlier, the CCD noise structure is monochromatic and gritty. If you want a super-clean image, stay under ISO 400. If you want a moody, atmospheric street shot, don’t be afraid to push it to 1600. Just nail your exposure; underexposing a CCD sensor at high ISO is a recipe for disaster.
2. Mastering Autofocus Modes
The D3000 has an 11-point AF system, which is plenty for most situations. However, you need to know how to tell the camera what to do.
- AF-S (Single Servo): This is your bread and butter for portraits and landscapes. You half-press, it locks focus, and it stays locked. It allows you to focus and recompose.
- AF-C (Continuous Servo): Use this for moving subjects (kids, pets, cars). The camera continuously adjusts focus as long as the shutter is half-pressed.
- AF-A (Auto): The camera guesses between S and C. I generally avoid this as I like to be in control.
3. The Importance of White Balance
CCD sensors can be finicky with artificial light. You might notice your images skewing too green or magenta indoors.
Unlike modern cameras that have uncanny Auto White Balance (AWB), the D3000 sometimes needs a nudge. Don’t be afraid to switch away from Auto.

If you are shooting JPEG, getting this right in-camera is critical. If you are shooting RAW (which you should be), you have more latitude to fix it later, but seeing the correct colors on the LCD helps with visualization.
4. RAW vs. JPEG: The Ultimate Debate
With a camera this old, you might be tempted to shoot JPEG to save space. Don’t.
Shoot RAW (NEF).
The JPEG engine from 2009 is nowhere near as sophisticated as the processing power in your computer today. By shooting RAW, you retain all the dynamic range the sensor can offer. It allows you to recover shadows and highlights that the JPEG processing would simply clip.
If you want the best of both worlds, use the RAW + Basic JPEG setting. This gives you a quick file to share and a digital negative for the darkroom.
5. Metering Modes Explained
Getting the exposure right is 90% of the battle. The D3000 offers three metering modes, and knowing which one to use can save your shot.

- Matrix Metering: Great for landscapes and general travel. It looks at the whole scene and averages it out.
- Center-Weighted: Prioritizes the middle of the frame. Good for general snapshots.
- Spot Metering: This is the secret weapon for portraits. It measures light only at your active focus point. If you are shooting a backlit portrait during golden hour, Matrix metering will turn your subject into a silhouette. Spot metering ensures your subject’s face is properly exposed, even if the background blows out.
The Lens Dilemma (Compatibility Warning)
This is the most critical technical detail you need to know before buying lenses for the Nikon D3000.
The D3000 does not have an internal autofocus motor.
Nikon lenses generally fall into two categories:
1. AF-D (Screw Drive): These rely on a motor inside the camera body to turn a screw that focuses the lens.
2. AF-S / AF-I: These have the focus motor built into the lens itself.
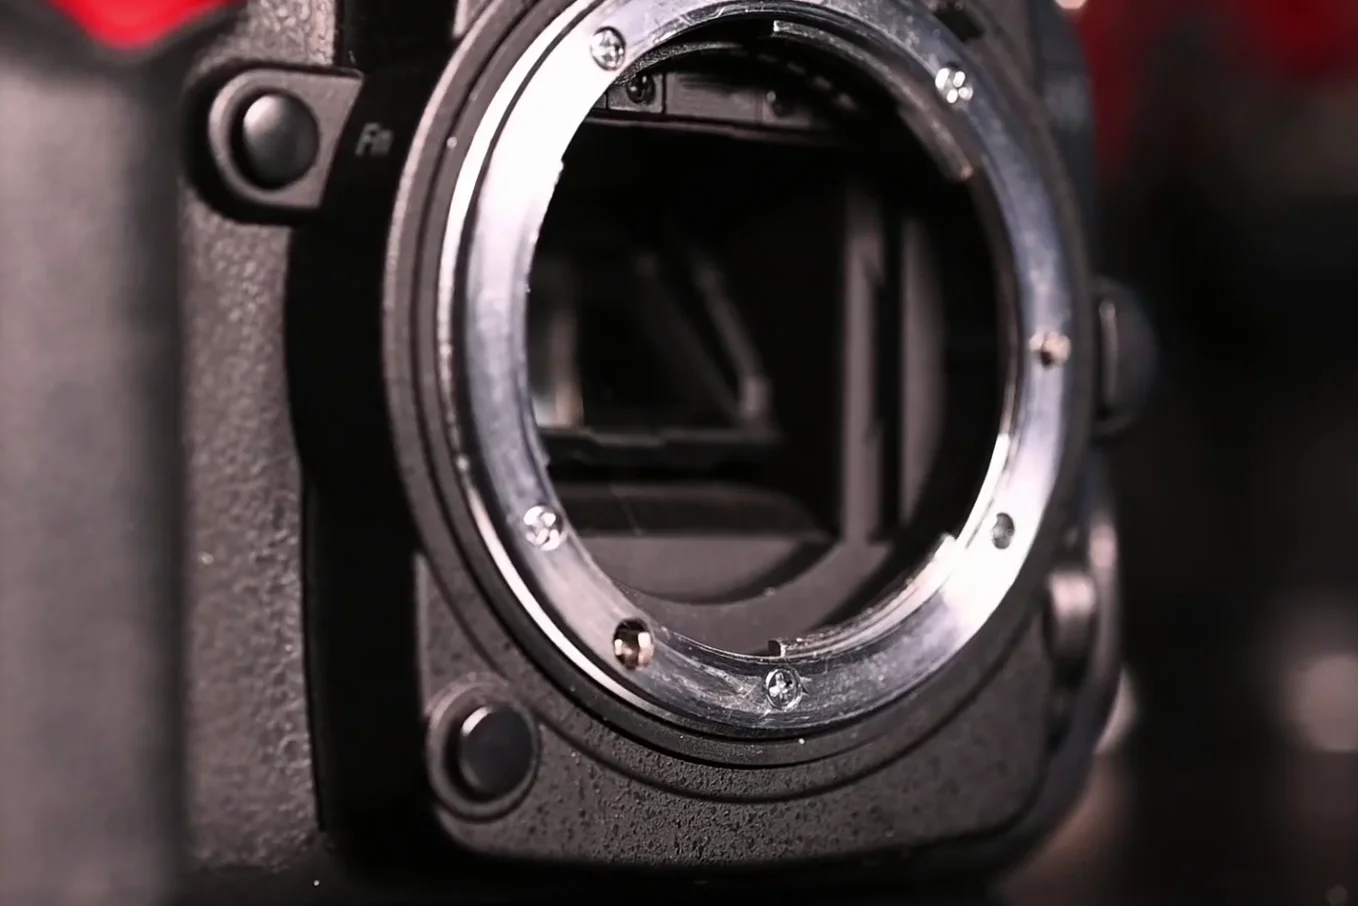
Because the D3000 lacks the screw drive, AF-D lenses will not autofocus. You can mount them, and they will take pictures, but you will be stuck with Manual Focus. To get autofocus, you must buy AF-S lenses.
Lens Recommendations
With the compatibility issue in mind, here are the lenses that make this camera sing:
- The Kit Lens (18-55mm VR): Don’t despise it. In good light, it’s sharp and punchy. It’s perfectly adequate for landscapes.
- Nikon 35mm f/1.8G DX: If you buy one lens, make it this one. It provides a “normal” field of view (similar to what the human eye sees). It’s sharp, lets in a ton of light for night shooting, and creates beautiful blurry backgrounds (bokeh).
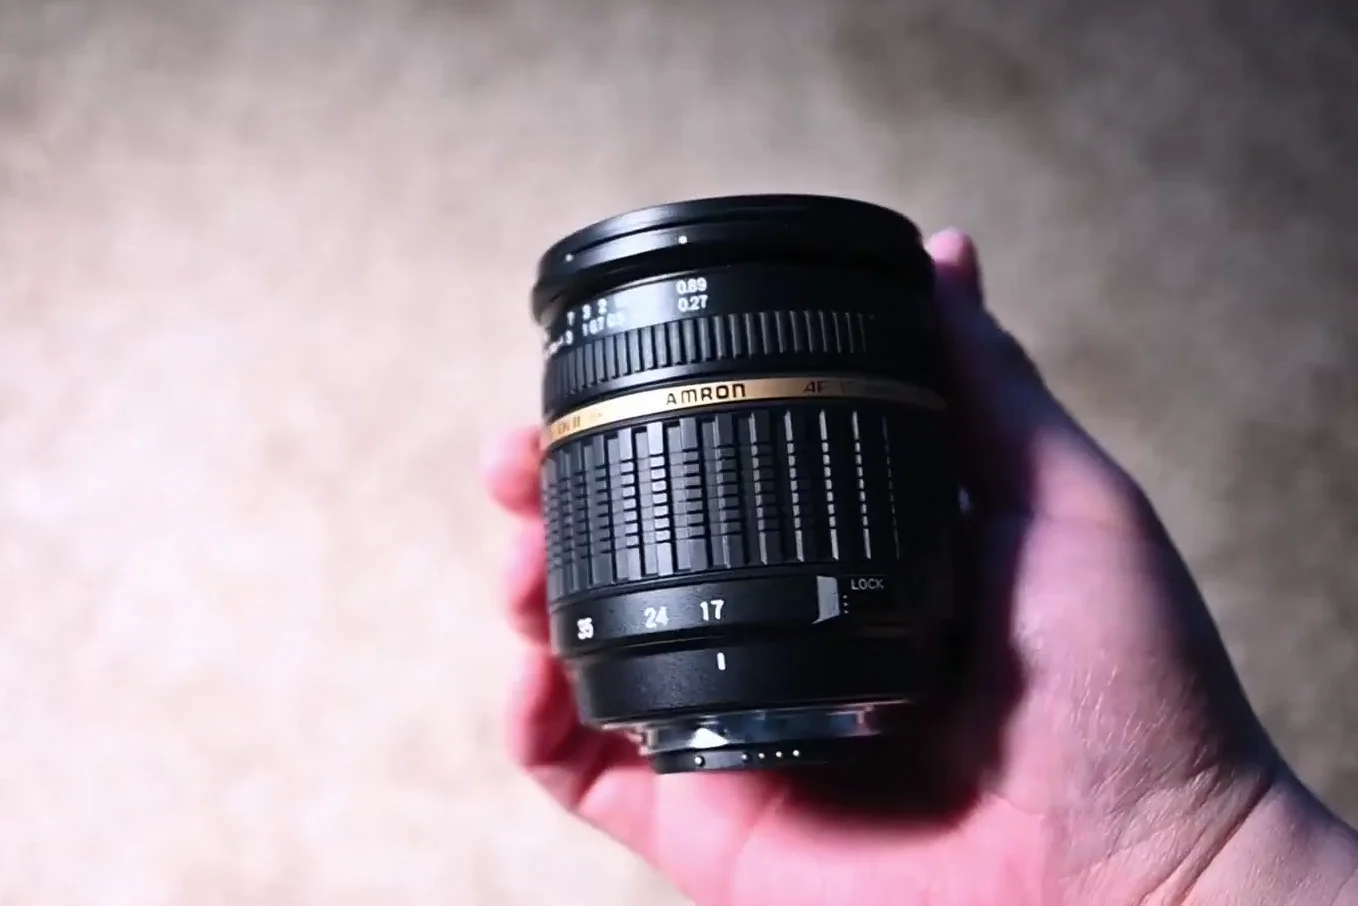
- Tamron 17-50mm f/2.8: This is my top recommendation for a zoom upgrade. It covers the same range as the kit lens but has a constant f/2.8 aperture. This is a game-changer for low light and separating your subject from the background.
Who Is This Camera For?
1. The Budget Student:
Photography gear is expensive. The D3000 allows you to get a body and a prime lens for under $150 total. That is unheard of. It teaches you the exposure triangle (Aperture, Shutter, ISO) just as well as a $3,000 camera.
2. The Digital Retro Enthusiast:
If you are chasing the “Digicam” aesthetic but want more control and interchangeable lenses, the CCD sensor in the D3000 is the holy grail. It delivers that nostalgic, non-clinical look that is trending right now.
3. The Purist:
The lack of video, touchscreens, and wireless connectivity forces a slower pace. You have to be intentional. It brings the joy back into the process of taking a photo, rather than just capturing content.
Final Verdict
Is the Nikon D3000 perfect? Far from it. It’s slow, it’s noisy in the dark, and the screen is low-res.
But is it capable? Absolutely.
When you pair this 10MP CCD sensor with good glass and good light (think golden hour), the results are nothing short of stunning. The images have a thickness and a reality to them that sets them apart from the sterile perfection of modern sensors.
If you can find one in good condition with a low shutter count, grab it. For the price of a few pizzas, you get a tool that can capture professional-quality portraits, document your travels with a unique aesthetic, and teach you the fundamentals of photography without distractions.
In 2024, the Nikon D3000 isn’t just “still good.” It’s a breath of fresh air.